Simplify Your Travel: A Step-by-Step Guide to Online Check-in for International Flights
In today’s digital age, traveling has become more convenient than ever. One of the most significant innovations in the travel industry is online check-in for international flights. This feature allows passengers to check-in for their flights from the comfort of their own homes, saving time and reducing stress at the airport. In this article, we will walk you through a step-by-step guide on how to complete online check-in for international flights, making your travel experience smoother and more efficient.
Why Online Check-in?
Before we dive into the step-by-step guide, let’s discuss the benefits of online check-in. By checking-in online, you can:
- Avoid long queues at the airport
- Choose your seat preference
- Print or download your boarding pass
- Pay for any baggage fees or travel documents
- Receive updates on flight schedules and gate changes
Step 1: Check Eligibility
To start the online check-in process, you need to check if your airline offers this service for international flights. Most airlines provide online check-in, but it’s essential to confirm with your carrier. You can do this by visiting the airline’s website or checking your flight confirmation email.
Step 2: Gather Required Documents
To complete online check-in, you will need to have the following documents ready:
- Passport
- Visa (if required)
- Flight itinerary
- Travel insurance documents (if applicable)
- Any other required travel documents (e.g., health certificate)
Step 3: Access Online Check-in
To access online check-in, follow these steps:
- Go to the airline’s website and click on the “Check-in” or “Online Check-in” tab
- Enter your booking reference number or ticket number
- Provide your last name and departure city
- Click on the “Check-in” button to proceed
Step 4: Fill Out Required Information
Once you have accessed the online check-in platform, you will need to fill out the required information, which may include:
- Passenger details (name, date of birth, passport number)
- Contact information (email, phone number)
- Seat selection (if available)
- Baggage information (if you have checked baggage)
- Travel document details (visa, travel insurance, etc.)
Step 5: Pay for Baggage Fees and Travel Documents
If you have checked baggage or need to purchase travel documents (e.g., travel insurance), you can do so during the online check-in process. You will need to pay for these services using a credit or debit card.
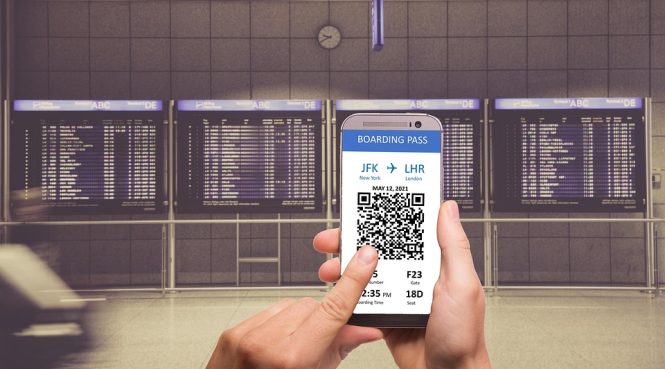
Step 6: Print or Download Boarding Pass
After completing the online check-in process, you will be able to print or download your boarding pass. Make sure to check the boarding pass for any errors or discrepancies.
Step 7: Check-in for Your Flight
Once you have completed the online check-in process, you can proceed to check-in for your flight. You can do this by:
- Printing your boarding pass and presenting it at the airport
- Downloading your boarding pass on your mobile device and presenting it at the airport
- Using a self-service kiosk at the airport to print your boarding pass
Tips and Reminders
To ensure a smooth online check-in experience, keep the following tips and reminders in mind:
- Check-in online at least 24 hours before your scheduled flight departure
- Ensure you have all required documents and information ready
- Double-check your boarding pass for any errors or discrepancies
- Be aware of any travel restrictions or requirements for your destination
Conclusion
Online check-in for international flights has revolutionized the travel experience, making it more convenient and efficient. By following these simple steps, you can avoid long queues at the airport, choose your seat preference, and receive updates on flight schedules and gate changes. Remember to check eligibility, gather required documents, and fill out the necessary information to complete the online check-in process. With this guide, you’ll be well on your way to simplifying your travel experience and enjoying a stress-free journey.